We headed to the beach for part of a break the kids had from school.
(Only part of the break because I still had class that I needed to be back for)
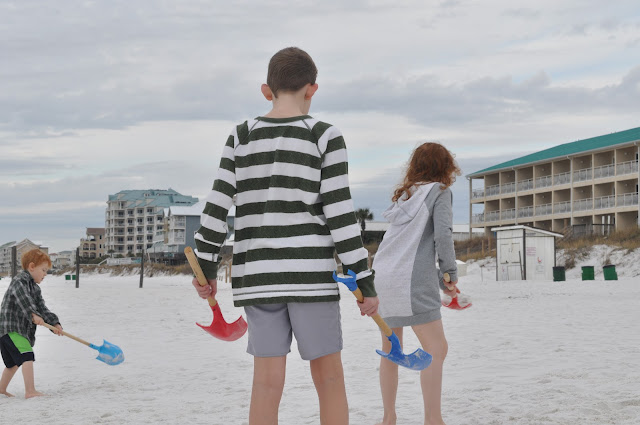
It was our coldest trip there to date, but that meant that the beach was delightfully empty and we had a lot of fun anyway.

{we had driven and arrived in the dark, waking up to our first day there}


{went for a walk...ended up being longer than intended and we were all sore the next day}


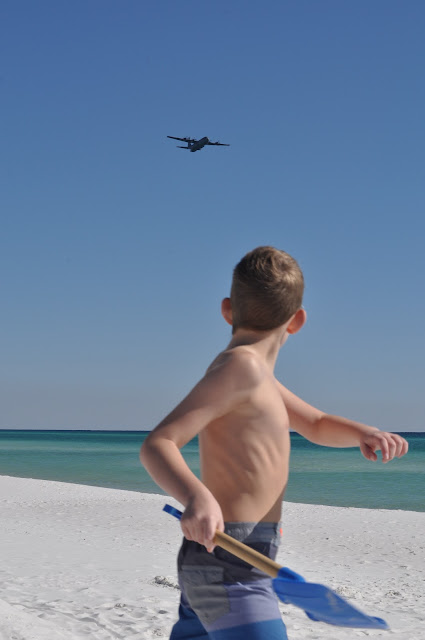
{the next day the wind was making the beach smooth and stirring up the sand in the water, making the ocean the most magnificent shades of teal and blue}


{donuts from one of our favorite spots}


{some of our best friends were staying nearby, so they came over to visit in the evening}


{this adorable older couple snowbird from Wisconsin. They had made friends with our kids the days before, and came back for the "theme park grand opening" that Evie had dreamed up}

{they even made a napkin invite to commemorate the occasion}


{our last morning we cleaned up and snagged some more donuts before heading home so I could get to class that evening}


